Alumni Admissions Ambassadors from across the country can now learn to review the arts portfolios of prospective students who may be interested in applying to Lesley University. Alumni Ambassadors with a background in the arts will use online, self-paced training to learn how to assess arts portfolios and to communicate with students during portfolio review events.
This new training system is being piloted this fall semester and will be used will be used by BFA and MFA alumni admissions ambassadors. This effort to extend and streamline the training process is important to the goal of enlisting more ambassadors with training and experience in the arts to assist prospective Lesley students in applying to our university.
Central to the training was the development of a set of guidelines by which to assess portfolios. These guidelines were tested by a group including recent Lesley alums and members of the Marketing Design team and updated based on their input. Trainees will learn to assess portfolios primarily by reviewing many sample portfolios and receiving automated feedback on their choices.
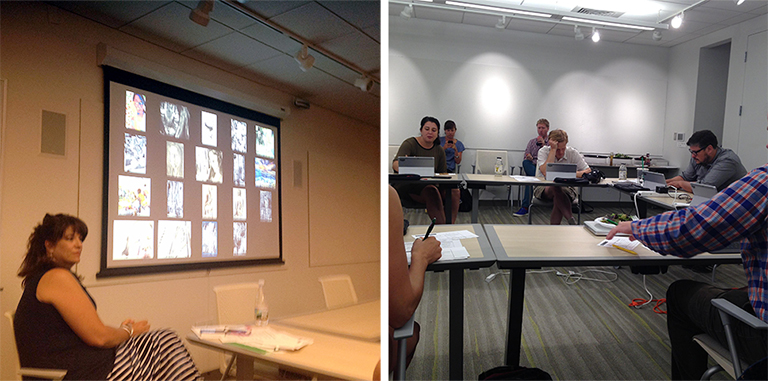
Arts Portfolio Guidelines Pilot Testing Event: Lunder Arts Center
The development of this training has been a collective effort involving staff from the Alumni Recruitment, Undergraduate Admissions, and eLearning and Instructional Support departments.
If you have any questions or would like to learn more about this project, please contact Liana Caffrey (Director) or Shirley Chin (Sr. Assistant Director) of the Alumni Admissions Ambassador Program: lcaffrey@lesley.edu (x8201); schin@lesley.edu (x8806).
Project Staff
Alumni Admissions Ambassador Program: Liana Caffrey, Director; Shirley Chin, Sr. Assistant Director.
Undergraduate Admissions: Erik Gullard, Assistant Director / BFA Specialist; Mike McCarthy, Assistant Director; Lauren O’Neill, Assistant Director / BFA Specialist / International Student Coordinator.
eLearning and Instructional Support: Robyn Belair, Instructional Technologist/Interface Designer; John McCormick, Director of eLearning Design; Bill Porter, Learning Technology Designer

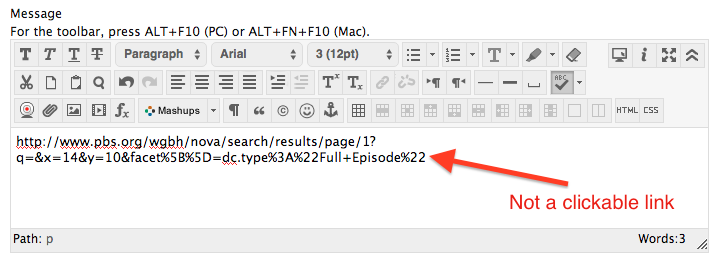
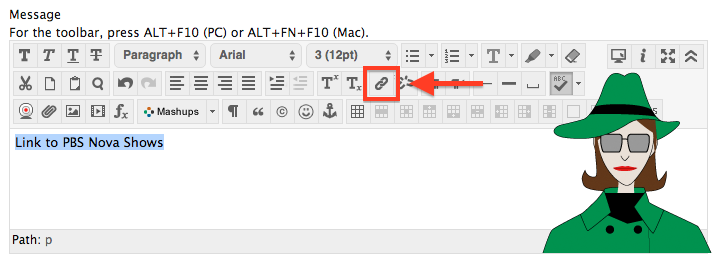


 Learn more about using the myLesley text editor at the