This year’s Summer Academic Technology Institute will focus on transitioning your course to Blackboard Ultra Course View.
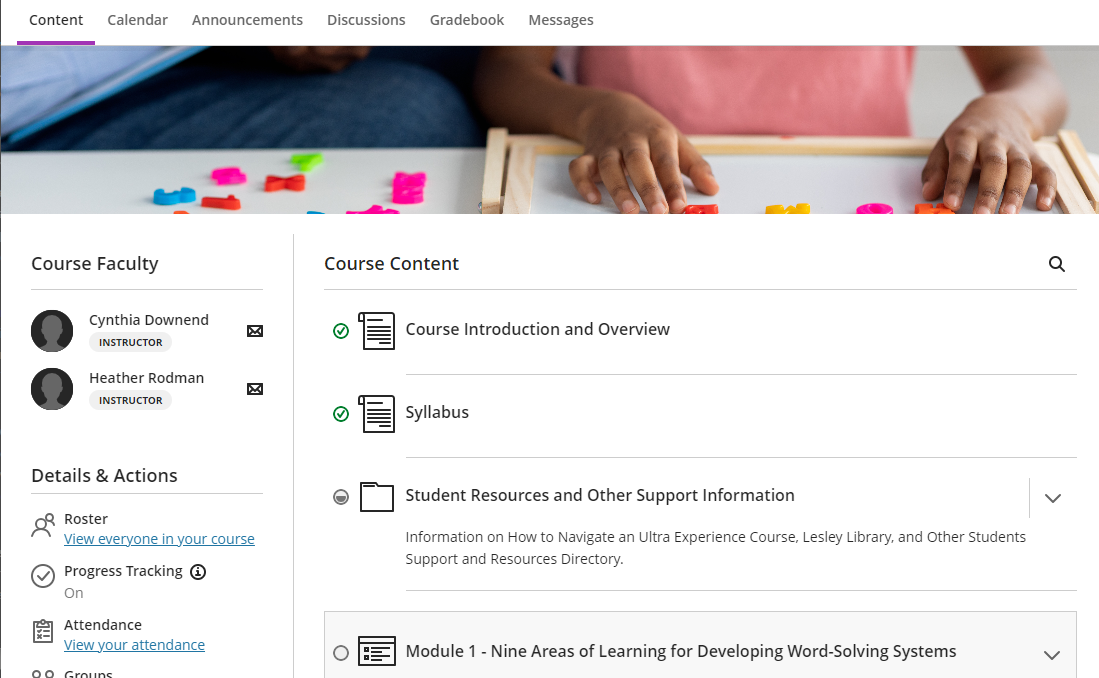
Blackboard Ultra is the new and intuitive version of your myLesley course. It has been completely redesigned and features a clean modern look and feel, responsive mobile friendly experience, consistent and intuitive navigation, improved accessibility, streamlined grading, progress tracking, and more.
The Summer Institute is a great opportunity to learn more and transition your course to Ultra Course View with the support of the eLearning & Instructional Support team.
Overview
There are 2 chances to participate in this year’s Summer Institute. There will be one small cohort in July and one in August:
- Cohort 1: July 15-26
- Cohort 2: August 5-16
Each cohort will participate in a 2-week online seminar. You will learn how to use Ultra Course View to create an engaging and user-friendly experience for your students. By the end of the 2 weeks, you should have your course well on its way to being converted to run in Ultra.
The institute will feature 2 synchronous training meetings, 2 synchronous working meetings, optional online office hours, and consultations by appointment.
Space is limited, so sign-up soon! All faculty – core and adjunct – may apply. Priority will be given to faculty who are converting their course for the first time. This does not mean you need to teach exclusively online – all modalities welcomed.
Faculty Expectations
Faculty are expected to:
- Participate in Summer Institute activities and meetings.
- Develop or make significant progress toward developing their course in the Ultra Course View.
- Teach a course in Ultra Course View during the 2024-2025 academic year.
- Share and explain their experiences in Ultra with colleagues, focusing on the advantages of Ultra Course View.
Faculty who successfully convert and teach their course in Ultra will be awarded a $300 stipend.
Application
2024 Summer Academic Technology Institute Application Form
Email elis@lesley.edu with any questions.