A Frequently Made Support Request

The eLIS support channel often receives requests for Blackboard/MyLesley orientation. Here’s what I focus on in that first walk-through with a new instructor:

First, I talk them through creating a welcome message to their students using Announcements. It’s the first thing students will see when they come to a course site by default. It’s also a good opportunity to introduce the Content Editor and the functionality available there.

Second, I show them how to upload their syllabus into their course. This allows me to show a couple of different ways to attach a file to a content item, either via the attachment feature in the text editor or via the “attach file” tool below it.Blackboard Content Editor highlighting Plus tool

I point them to the circle-plus icon in the text editor, because of the added functionality there, such as Kaltura and Voice Thread. I don’t go into too much detail about either of those two items— it feels like too much information for a first walk-through, and one can always come back later for more info.

Add Content menu in Content Editor

The third area I touch upon is the Assignment tool, because it’s the perfect entrée into the Grade Center, which is the final thing I spend time on. The assignment tool creates a column in the grade center automatically. I can then show them how to create manual columns. New instructors often ask how their students can see their grades, which allows me to point to the My Grades tool, and therefore Student Preview, which allows instructors to see what’s in My Grades, among other things.

I wrap up by saying, “There’s a lot more to show you, and if you’d like we can make an appointment to go into more detail, or you can ask questions via email at elis@lesley.edu.”


Check For, and Fix! Broken Links in Your Course

What can you do to prevent students clicking on links for required readings in your course and discovering that materials they are responsible for are missing? Links in new courses break for various reasons. It could be that the course copy process itself has somehow broken some links, though this is rare. It’s more common (and understandable) that pages linked to in your course have either been taken down or simply changed location on a revised site.

It’s good practice to proactively go through your course right after it’s been copied over and click on each link to make sure that they all work. Even if your course has a lot of links, the simple act of clicking on all of the links should not take too long. The part of the process that may take longer, depending on what you find, is fixing each link that doesn’t lead where it’s intended to.

The next step is to find the addresses for the materials you want to use when you rebuild the links. Start with searching the site for the information you’re looking for; most ed sites will have a search function. If you find that the information you want to pass along is either revised enough to no longer be useful or missing from the site altogether, you may need to find an alternative if the information is vital for your students. (Hint: you might use Lesley’s Ask a Librarian service for assistance with this.)

Once you have the new link in hand, saved to a word document or opened in a separate tab in your browser, you’ll need to build a new link, and then delete the old one. I recommend deleting the old link after building the new one, because it’s easier to see where the new link should go and should make it easier to identify and make any revisions in the language in your text in order to accommodate the change.

Here’s how to create the new link using Blackboard’s text editor, adapted for this post from our knowledge base article at support.lesley.edu:

Adding Links

When pasting links to websites such as YouTube and Vimeo, the videos are automatically embedded for inline playback. Simply paste the link in the content editor and Blackboard will automatically embed the video.image of the Blackboard content editor with an image added.

Other links, such as those to other websites, may display a preview of that page.image of the Blackboard content editor with preview of a linked page.

To ensure the links you create are accessible, your language should convey clear and accurate information about the link’s destination. For example, instead of adding a link to the text “Click here”, include the full title of the destination page, such as “Microsoft Office Support Resources.”

To create a link, click on the Insert/Edit Link button in the content editor (it’s the one in the second row that looks like two links in a chain.) You will be prompted to enter the URL (you may copy and paste the link from your browser or the word document mentioned above), the text to display (the descriptive word or phrase you want to use as your link), and select “Open link in… New window.”image of the Blackboard insert/edit link window.This last bit is important; Blackboard/MyLesley works better if you set the link to open in a new window. Clicking a link that is not created in this way will send you to an intermediate page warning you that you are about to leave your course site, which can be confusing. Using a new window will also help your students navigate back and forth between the content you are linking to and the course itself with a single click on a browser tab.

For more information about other aspects of working with the new text editor, view Using the myLesley Text/Content Editor on our support site.


Which Tool is Best?

One question we in eLIS are often asked is which tool is best for a particular assignment, or the obverse; what sort of assignment would a particular collaborative tool work best for? The answer, which I always imagine frustrates instructors looking for clear, unambiguous information to apply to their teaching practices is, “It depends.” We also make the point that it’s important to start from your learning objective and go from there. The tool should always be in service to what you’re trying to accomplish.

Once you have your objective defined, there are a number of considerations that can go into choosing which tool to use for, say, asking students to reflect on a reading, getting formative feedback to help determine what to emphasize in an upcoming unit, or encouraging your students to interact to inspire collaborative learning. Should you use the assignment tool or a journal? The discussion board or a blog? A wiki or VoiceThread? There may be instances where one or the other of these tools is the clear best choice, it’s true.

However, one of your main considerations should be what’s convenient and familiar to you and your students: what tool you know well enough that you can create an exercise that will bring the material or concepts you’re working with to life for learners. There’s no one tool that’s going to be the best in all instances, but if you have a go-to tool, you can almost always figure out a way to make it work for the task at hand.

In my parents’ home, the go-to tool for around-the-house, quick-fix situations was a butter knife. We used them to drive screws, scrape gunk off of pots and pans, pry up nails or push-pins, remove staples, open envelopes, scrape off excess putty or glue from quick repairs, spread butter on bread or baked potatoes, cream cheese on bagels, icing on cake, pull up burning toast out of the toaster, or in any number of other scenarios.

It may surprise you to learn that my dad was an auto body repairman, and there was always an extensive collection of tools out in the garage at our house, one of which could do almost any particular (non-food-related) job a little bit more efficiently. But a butter knife was handy, right there in the kitchen, and frankly, it did most of the jobs it was apt to be used for nearly as well as the thing you would have to go out to the garage on a cold night and rummage around to find.

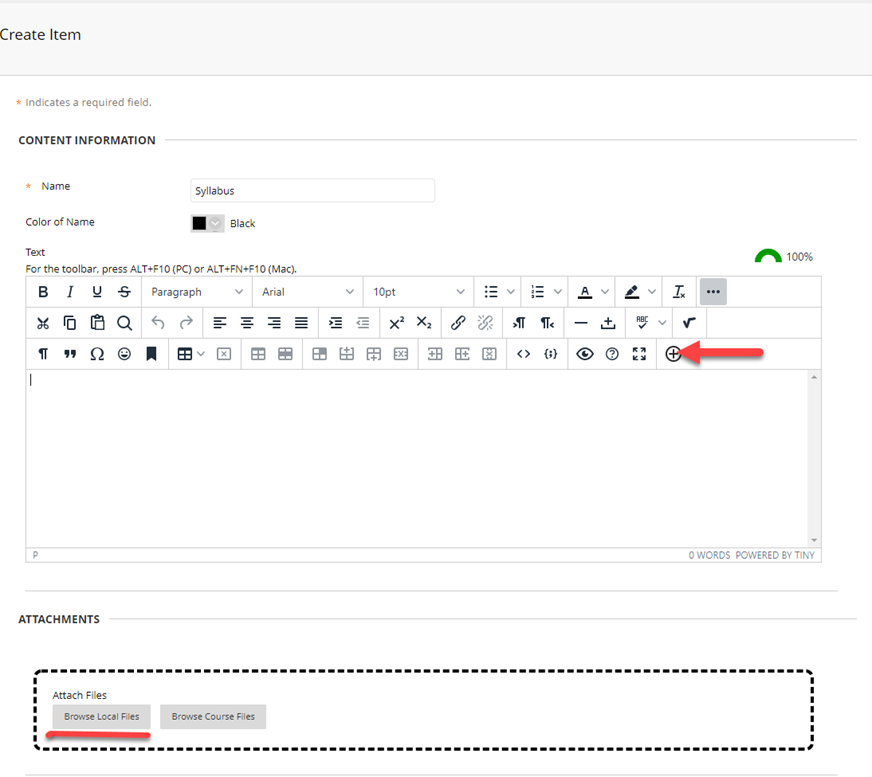
Arguably the most versatile tool in Blackboard/MyLesley’s suite of tools is the discussion board. While there’s no justifiably convenient way to make it function as a private journal, for example, it does have capabilities well beyond its named purpose. It can be used as a makeshift blog or as a place to host visual student work, which is the way we most often see the wiki tool used. We’ve also seen it used as a place for students to post assignments.

The discussion board can be made gradable. Using the viewing setting “Participants must create a thread in order to view other threads in this forum,” it’s easy to make sure that students don’t see each other’s work before they submit their own. Once they do, they can automatically view the work of their peers. With the default settings of MyLesley forums, students are not able to edit their own work once it’s been submitted, although you can change that setting if you wish.

While the discussion board may be the most versatile tool in MyLesley — the true “butter knife” in your course site — it’s certainly true that virtually any of the tools available in your course site can be used in unexpected ways. It only requires your creativity and resourcefulness to find those new, unconventional repurposings.

How have you used MyLesley’s suite of tools in novel ways? We’d love to hear about it.