![]() Structuring a feedback cycle in online course is in many ways no different than in a face-to-face one. For example, if you are using peer feedback, you may already be using some of these strategies:
Structuring a feedback cycle in online course is in many ways no different than in a face-to-face one. For example, if you are using peer feedback, you may already be using some of these strategies:
- Ask students to use a standard set of criteria and a protocol to guide their feedback
- Set expectations – emphasize the value of giving feedback. Research shows giving feedback has a positive impact on students’ own work.
- Make giving, receiving and using feedback part of assessment
- Create a feedback loop:
- Ask those whose work is being reviewed to point out to reviewer(s) what they’d like help with in particular. Encourage them to ask questions of the reviewer.
- Ask students in final drafts to write a brief piece explaining how they used the feedback they received.
Some benefits of this feedback structure include:
- Increasing student accountability for quality of feedback
- Increasing skills in giving and using feedback
- Streamlining final review of student work
- Determine the success of the feedback system
- Determine/improve students’ skills in giving and receiving feedback
Due to the lack of physical presence and changes in learning and teaching workflows, there are a few options that can improve that cycle.
Online Tools
Voice
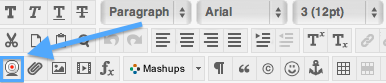
 In addition to the suggestions above, online tools can strengthen feedback and in some cases save time in giving feedback. For example, using voice rather than the written word can deepen the quality and quantity of feedback. Consider that speaking for three minutes produces about 500 words at an average rate of speech. Quality of feedback can also improve because the tone and quality of voice is retained, and this can enhance the depth and clarity of information in a message. Voice feedback has an immediacy that text does not, increasing students’ sense of your presence. Tools using voice include Blackboard voice email and the voice authoring tool that is available wherever the full text editor exists.
Video
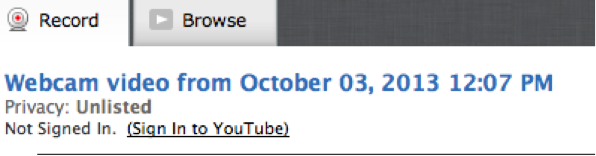
Blackboard’s Video Everywhere tool allows you to record yourself speaking to students. Consider whether your feedback would be enhanced by the use of video. In the case of online course welcome messages, video of the instructor can be very useful in establishing a sense of your teaching presence.
Narrated Movies
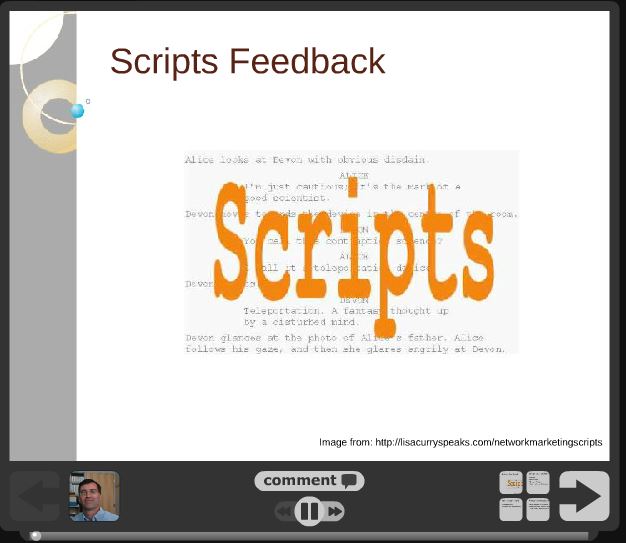
Sometimes called “screencasts”, narrated movies can add a visual element to your feedback. For example, you may want to give feedback to the whole class, highlighting some key points in an assignment. Using VoiceThread, you can post a PowerPoint slide with bullet points and narrate those with a voice-over. You can also embed your webcam video directly into a slide. Using SnagIt, you can record a narrated movie of whatever is open on your desktop. This might include written or visual student work. With a tablet computer, you can draw on the screen as you speak, adding emphasis to the points you speak to.
Articles on Feedback in Higher Education:
- From Monologue to Dialogue: Improving Written Feedback Processes in Mass Higher Education
- Formative Assessment and Self-regulated Learning: A Model and Seven Principles of Good Feedback Practice
- Beyond Feedback: Developing Student Capability in Complex Appraisal
If you would like more information about any of the feedback strategies or tools in this post, please contact elis@lesley.edu.