
Atomic Learning has created the 12 Days of Learning, a series of articles designed to kick off resolutions to keep learning in the new year. We thought this was a great idea and have decided borrow (shamelessly steal) it and do our own. For Day 3 of our series, learn how to collect, grade and return student assignments in myLesley.
Tired of searching through your email to find the assignments your students sent? Can’t find where you filed the graded version of their final paper? The Assignment tool in myLesley will allow your students to submit their coursework to a digital dropbox-style space. You can then view, provide feedback and return the graded assignment. myLesley will keep a record in the course of when the student submitted the file, your annotations and feedback, the grade and when you returned the graded assignment to them. Your students can access their feedback at any time by returning to the myLesley course site.
Learn more about how to use this powerful tool by viewing the tutorials below. 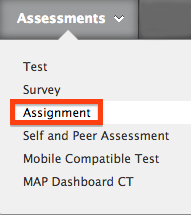


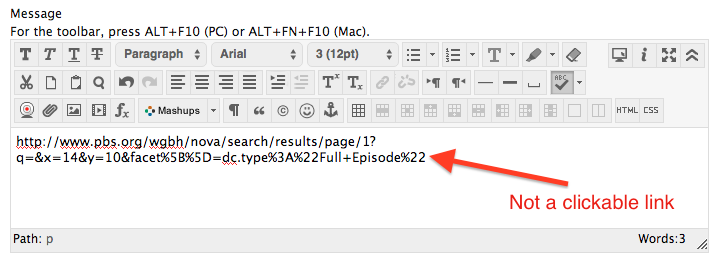
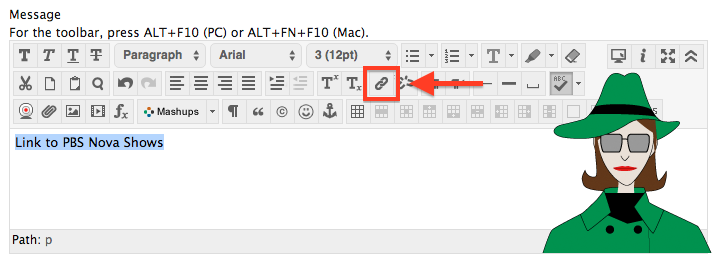


 Learn more about using the myLesley text editor at the